
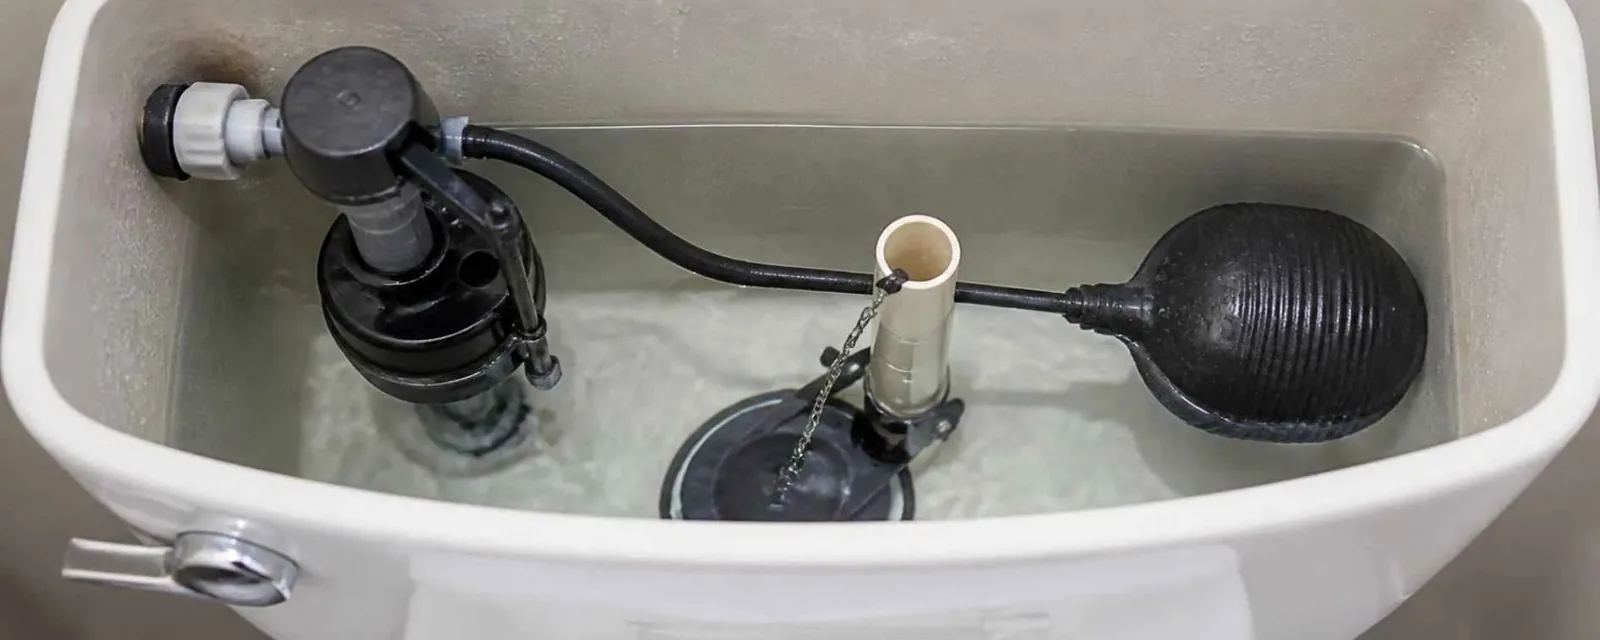
To install a new toilet tank, shut off the water, drain the old tank, unbolt it from the bowl, then set the new tank on a fresh gasket and tighten the bolts evenly. Reconnect the supply line, open the valve and check for drips. The steps are simple. The risk is cracking the porcelain or buying a tank that does not fit the bowl.
Most tank problems are cheaper to fix than to replace, so check the parts inside first. If the tank is cracked, or the bowl and tank are an unmatched pair, replacing the tank is the right move. This guide lists the tools, the steps in order, and the signs that tell you to stop and call a plumber.
Before you buy: confirm a tank is the right fix
Many 'bad tank' problems are really worn parts, and parts cost far less than a tank.
- A running toilet usually points to a worn flapper or fill valve, not the tank.
- A tank that sweats in summer is condensation, which a new tank will not stop.
- Hairline cracks that seep water, or a crack near the bolt holes, mean the tank needs replacing.
- A tank that leaks at the bolts needs new gaskets or bolts, not a new tank.
- A tank and bowl from different makers rarely seal, so match the model number stamped inside the tank.
- A loose, rocking bowl is a bowl problem, and a tank swap will not fix it.
Match the tank to the bowl
A mismatched tank leaks at the connection. Look inside the old tank for a model number or date mark and bring it to the store.
| Check | How to check | Why it matters |
|---|---|---|
| Model and brand | Stamped inside the tank lid or on the back | Bolt holes and bowl shape must line up. |
| Bolt hole spacing | Measure center to center | Two bolts at the bowl, three on some designs. |
| Flush type | Single, dual or pressure assist | Pressure assist tanks need special bowls. |
| Rough-in size | Wall to the closet bolts, often 12 inches | Tank and bowl must fit the space. |
| Gasket style | Foam or rubber seal at the flush valve | The wrong seal leaks into the room. |
The installation steps in order
Work slowly, lay towels on the floor, and keep a sponge handy.
Shut off and drain
Close the stop valve behind the toilet, flush once, then sponge out the remaining water from the tank.
Disconnect the supply line
Loosen the nut at the fill valve with a wrench. Keep a small bucket under the fitting to catch drips.
Remove the old tank
Unscrew the nuts on the underside of the bowl, hold the bolt heads inside, then lift the tank straight up. Tanks are heavy and slippery, so use both hands.
Replace the gasket and bolts
Fit the new gasket on the bowl inlet. Use new bolts with rubber washers on the inside of the tank.
Set the new tank
Lower it so the flush valve outlet seats in the gasket. Tighten the nuts a half turn at a time, alternating sides.
Reconnect and test
Attach the supply line, open the valve, let the tank fill, flush several times, then dry every joint with tissue to catch slow seeps.
How tight is tight enough
Porcelain cracks if the bolts are overtightened. Snug each nut by hand, then add about a quarter turn with a wrench, alternating sides. If the tank still weeps, replace the washer or gasket rather than tightening more.
When to stop and call a plumber
A tank swap is not a fix for these problems.
The bowl rocks
A loose bowl means a failing wax ring or loose closet bolts and often a soft floor below.
Water at the base of the bowl
Leaks from the floor joint need a wax ring replacement and a look at the subfloor.
The stop valve will not close
If the shutoff leaks or seizes, a plumber should replace it before any work on the toilet.
A cracked bowl
A cracked bowl means a full toilet replacement and not a tank swap.
Repeated clogs
A clog that returns is a drain problem. See toilet repair in Neptune for how that gets diagnosed.
What hard water does to tank parts
Scale builds on the fill valve, flapper seat and inside the tank, and it can keep the flapper from sealing. If your new tank begins to run after a few months, check the flapper seat for a rough crust and wipe it clean.
If the toilet is part of a larger bathroom change, such as a new shutoff valve or moved water line, that is new work. Plumbing installation covers jobs where the pipes change and not just the fixture.
What Neptune homeowners should know
New Jersey American Water reports hardness of 72 to 140 ppm in the Coastal North system, which covers Belmar and Bradley Beach. At the high end of that range, scale can crust the flapper seat and fill valve faster, so wipe the seat and check the parts when you open the tank.
Belmar has 29.5 percent of its 4,066 housing units vacant, and Bradley Beach has 33.0 percent of 3,221 units vacant, which points to many seasonal homes. Toilets in a home that sits empty for months can dry out their seals. After a long vacancy, open the water slowly and check the tank for leaks before you leave again.
The Belmar Construction Department says unpermitted work can be fined $500 to $2,000. Permit rules vary, so ask the office whether a plain tank swap needs one, and ask before you start any change to the supply or drain. In Belmar and Bradley Beach, call your local office, since each runs its own process.
Source type: NJ American Water Coastal North 2025 water quality report and Belmar Construction Department
Questions about this topic
Yes, if the new tank is made for that bowl. Match the brand and model, and the bolt hole layout. If the old model is discontinued, replacing the whole toilet is often simpler.
Not if you only lift the tank. The wax ring is under the bowl. Do not move the bowl unless you are replacing the ring too.
An adjustable wrench, a screwdriver for the bolt heads, a small bucket, a sponge and towels. Some tanks use a plastic nut under the fill valve that tightens by hand.
The Belmar Construction Department says unpermitted work can be fined $500 to $2,000, and it holds plumbing inspections Wednesday through Saturday from 6 to 8 a.m. Permit rules vary, so call the office before you start.
Not usually. A cold tank in warm humid air collects condensation. If the drips return in summer, an insulated tank liner or an anti-sweat valve may help. Rule out a leak by drying the tank and watching the bolts.